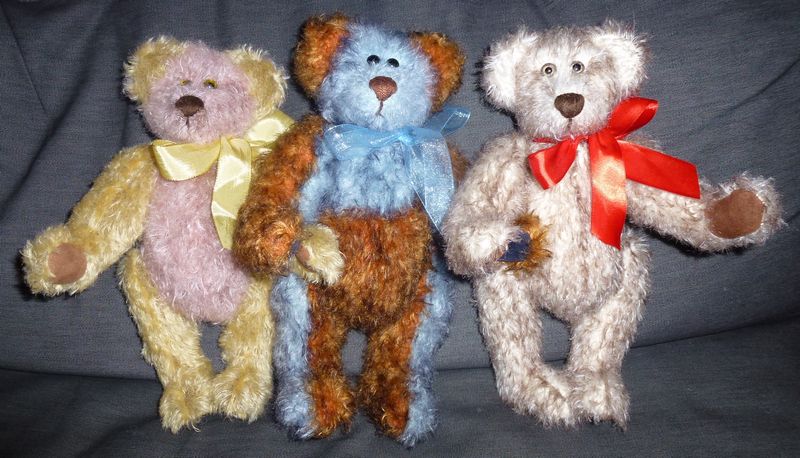
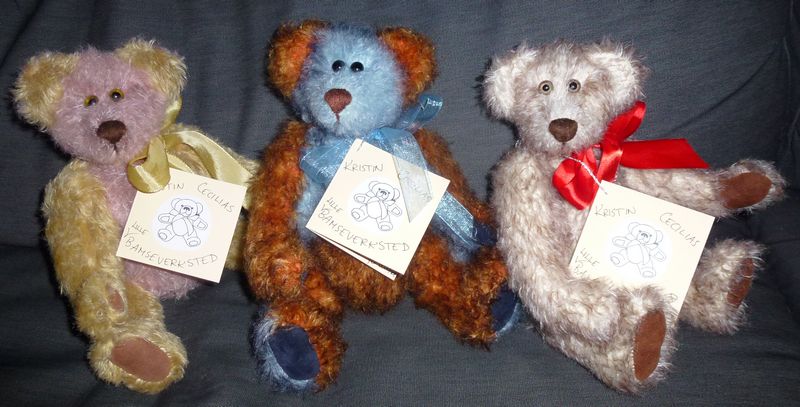
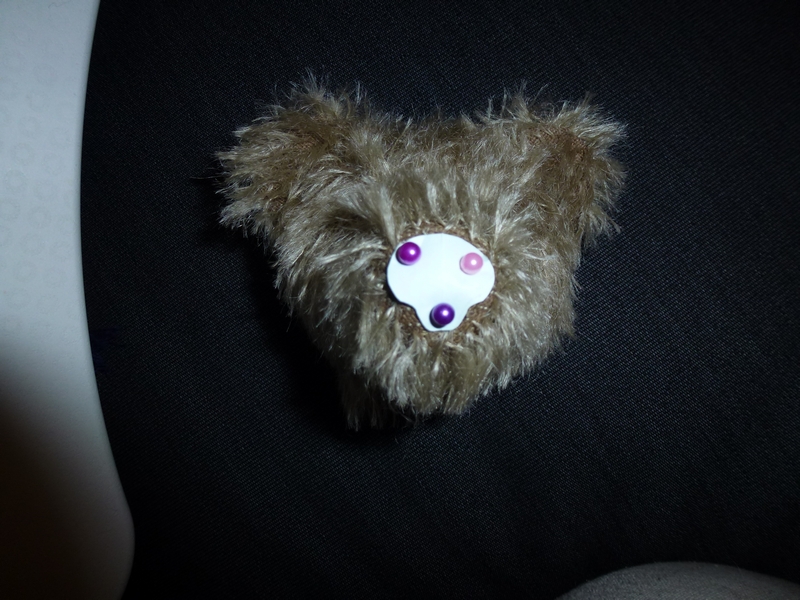
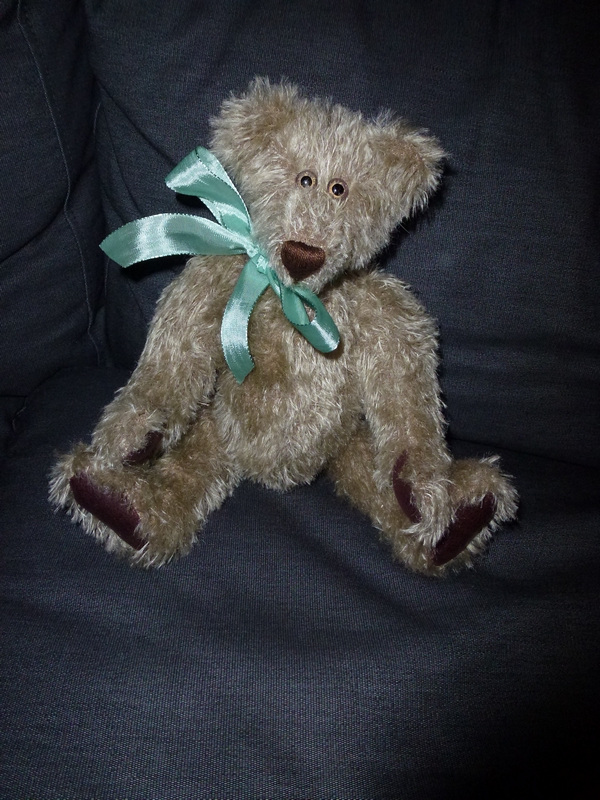
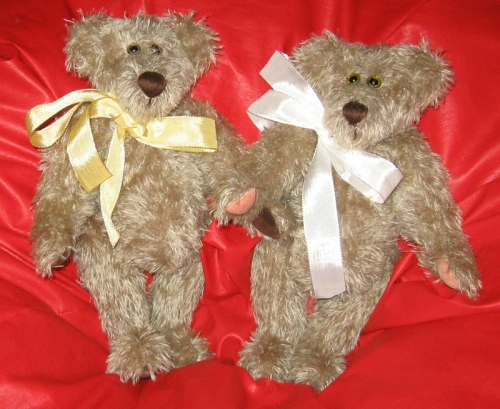
In my last post I gave a brief introduction to teddy bear making, and this is the first post in my “how to make a teddy bear” sequence. I hope I’ve explained the process properly, but if anything should be unclear, feel free to ask!
As promised, here’s the pattern for the bear I’m making this week. Use this pattern as you will – if you want to make a couple and sell them, that’s fine by me, but please do not incorporate this pattern in any large scale production of teddy bears for sale without at least asking me beforehand. I appreciate it if you would state that this is my pattern if you make any bears for sale.
Teddy bear pattern
About the pattern pieces:
All pattern pieces include 6 mm (0.24 “) seam allowance.
The pattern consists of two head pieces, one ear piece, two leg pieces, two body pieces and three arm pieces. A teddy bear made from this pattern is going to consist of three head pieces, four ear pieces, six leg pieces, four body pieces and six arm pieces. In other words, you’ll need to cut out the pieces from a suitable fabric as follows:
Head: Side: Cut two, one of them reversed.
Middle: Cut one.
Ear: Cut four.
Leg: Cut four, two of them reversed.
Back paw: Cut two
Arm: Outer: Cut two, one of them reversed
Inner: Cut two, one of them reversed
Front paw: Cut two, one of them reversed.
Body: Front: Cut two, one of them reversed
Back: Cut two, one of them reversed
Suitable fabrics:
Basically you can use any fabric when making a teddy bear, provided it’s sturdy enough but isn’t too thick to work with based on the size of the teddy bear and the pieces used to construct this. When I started I used cotton velvet (grandma’s curtains), and later I started using synthetic knitted furry fabrics. Then I moved on to mohair and alpaca. As a rule, I recommend woven fabrics, as these hold their shape much better than knitted or stretchy fabrics. Don’t buy the expensive mohair and alpaca fabrics to make your first bear if you’re an inexperienced sewer – it’s better to make mistakes using inexpensive fabrics. If you want to start with mohair, I would recommend searching for an old coat at the thrift store and use this to make your first teddy bear.
Required materials:
Joints (30 mm/1,2 “) – These could be bolt or pin based joints, plastic safety joints, or you could skip the joints and join the arms and legs to the body using extra strong thread.
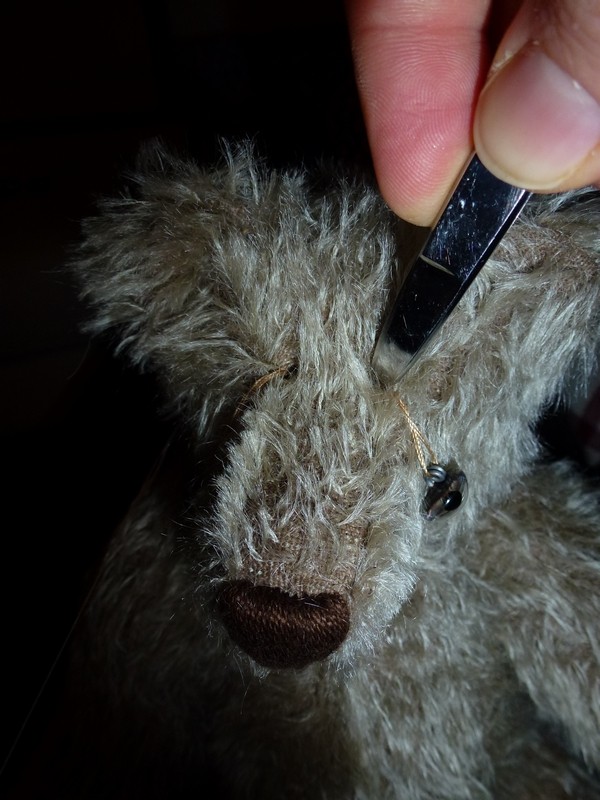
8-12 mm eyes (glass eyes on metal loops are my preferred variant, but plastic safety eyes are a valid alternative. Beads or embroidered eyes also give a nice result.
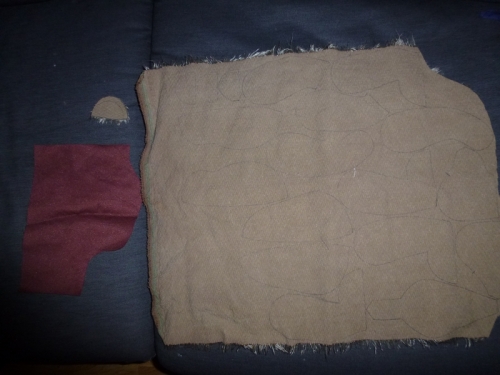
Fabric of your choice for the main parts of the bear (about 40×50 cm).
Fabric of your choice for the front and back paws (abaut 15×15 cm).
Sewing thread, preferably a strong one.
Extra strong thread (e.g. upholstery thread) for fastening eyes and closing seams after stuffing the bear.
Filling material – wool, wood chippings, synthetic wadding etc. I’ve heard about teddy bear makers who make it their mission to create teddies only from upcycled materials – mohair coats are used as fur, and old sweaters are cut up and used as wadding. It’s a great way to repurpose scraps of fabric.
Thread for embroidering the nose – I recommend pearl yarn.
Fabric scissors
Small scissors for trimming the bear’s nose hair.
Needles for hand sewing.
Doll needles (extra long needles used in doll making)
Pins or similar for figuring out the eye placement
Tools for fastening the joints in the teddy bear – these depend on which type of joint you are using.
Step one: Cutting the pattern pieces from fabric:
Lay out the pattern pieces on single layer fabric and pin them or hold them in place while tracing the outline of each piece with a pen or tailor’s chalk on the fabric before cutting. Remember to match the pieces to the straight grain. If you like, you could cut out your pieces on the bias, but I wouldn’t recommend it, as the fabric stretches differently and could give your bear a somewhat funny shape.
If your fabric isn’t a furry one, just cut out the pieces as you would do normally. If you’re working with the furry kind, a tip of advice is to avoid cutting the hairs off the fabric. This is done by inserting the tip of your scissors between the hairs as you start cutting, following the fabric surface below the hairs closely as you cut out the pieces.
If you are working with a fabric with thick fur, like alpaca, it could be worthwhile to trim the fur in the seam allowance around every pattern piece – that way you get nice and tight seams on your finished bear. Take caution not to trim the fur other than in the seam allowances.
Step two: Hand basting pieces together before sewing them:
When I started sewing teddy bears, I never basted the seams before sewing them. But as I started doing more and more of the sewing by hand, I found that hand basting the seams before sewing them on a sewing machine had a great impact on the finished product. Today I sew most of the seams on a sewing machine, after hand basting the pieces together. Some seams, however, I always sew by hand. I don’t bother basting the seams I sew by hand, but if you want to, just go ahead.
If your fabric has fur, try to point this inside the seam, towards the middle of the piece (e.g. the body) you are basting – I’ve found this a time saver afterwards, when you need to comb the fur out of the seams on the finished bear.

Start basting the following seams:
Head: 1-5
Ear: Along the curved line (use either ear A or ear B)
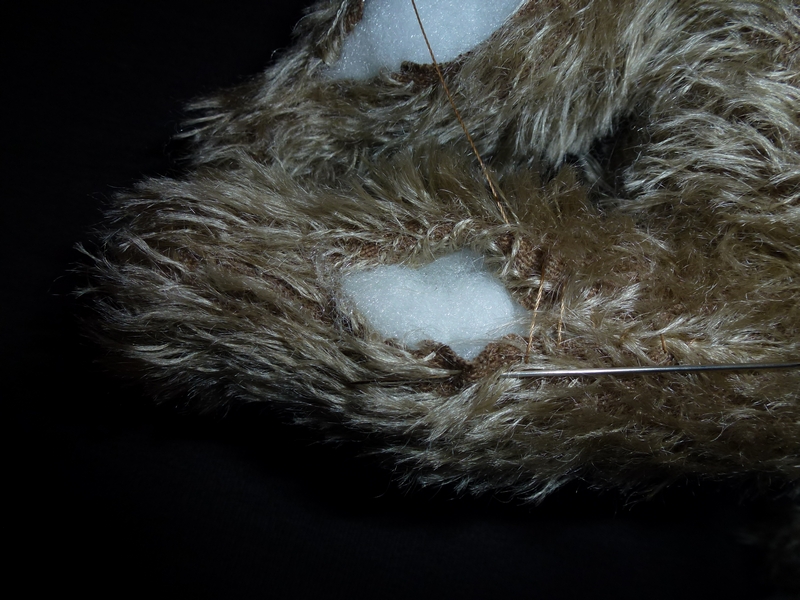
Leg: 14-15 and 16-17 (leave 14-16 open)
Arm: 10-11
Body: Front (along the tummy line): 6-7
Back: 7-9 and 6-8 (leave 8-9 open)
After the above mentioned seams are sewn, rip out the basting thread and baste the following seams:
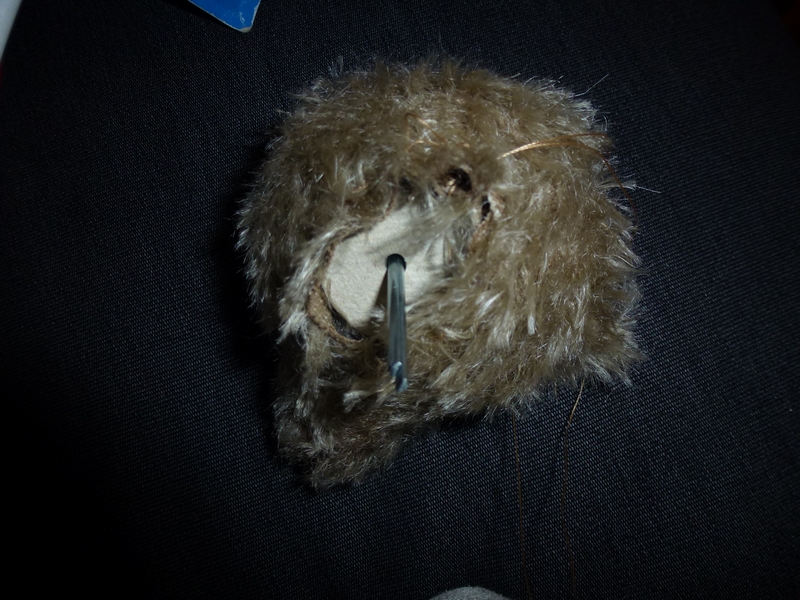
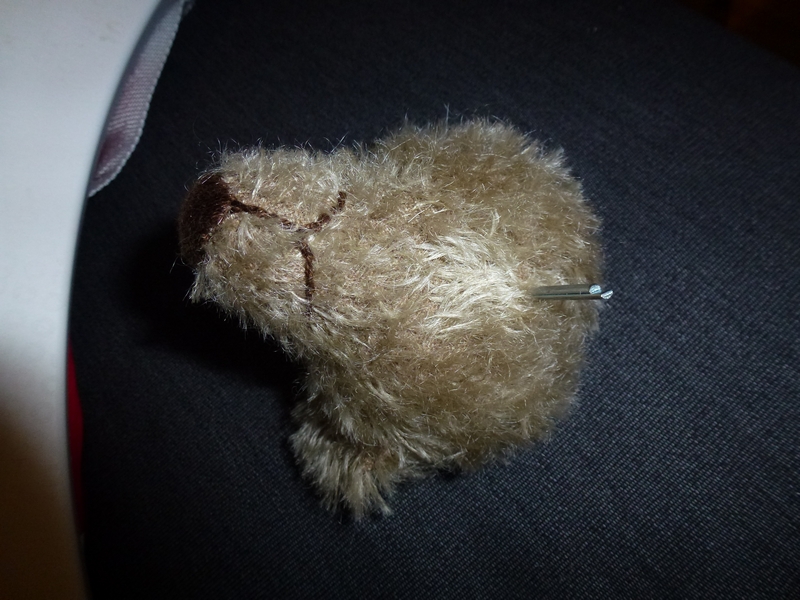
Head: 3-4 along both sides of the head. Leave the snout open (this we’ll sew by hand afterwards).
Arm: 12-13 (leave the gap between 12 and 13 at the back of the arm open).
Body: 6-7 along both sides of the body.
Step three: Sewing the bear:
I sew most seams by means of my sewing machine, with 2-3 mm long straight stitches. Unless you are working with a fabric which frays very easily, it’s not a necessity to secure the raw edges of the fabric – only minimal stress will occur to them once they are secured inside the bear. If you’re worried of the seam allowances in the openings in the backs of the body, arms and legs, you could threat these with “Fray Check”, a fabric glue made for this purpose.
Hand sewing:
I sew all hand sewn seams with back stitches, as this creates a neat and strong seam. The stitch length is 2-4 mm. Make sure the thread is pulled taut after every stitch.
After finishing the seams sewn on the sewing machine (or you could of course sew all these by hand as well – it really doesn’t take that long, and the result is nice!), sew the following seams by hand:
Head: 3-1 via 2.
Leg (back paw): 15-17.
Next step will be explained in my next post. Happy teddy bear making!